Showing results 151 to 160 of 2731
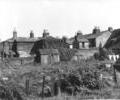
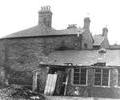
Museum Ref No: D_Baiter_Street_0020Baiter Street, rear of 21-31. Photographed by Barbara Bristowe.
Photograph
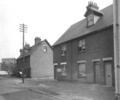
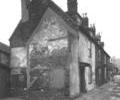
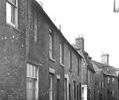
Museum Ref No: D_Baiter_Street_0022Baiter Street, derelict. Nos 8-12 on left and 14-18 on right. Telegraph pole. Photographed by Barbara Bristowe.
Photograph
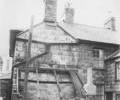
Museum Ref No: D_Baiter_Street_0005Baiter Street, rear of No.21. This length of street previously known as Pound Street. Part-demolished outhouse. Photographer S.A.H. Swain
Photograph
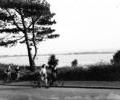
Museum Ref No: Batting/Box 3/Lilliput/No.1Cyclists on Banks Road, Lilliput. (Batting photograph)
Photograph
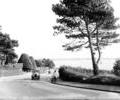
Museum Ref No: Batting/Box 3/Lilliput/No.2Motor cars and bicycle on Banks Road, Lilliput. (Batting photograph)
Photograph
Museum Ref No: D_Barbers_Piles_0006Barbers Piles looking towards West Quay Road. Gap in foreground left by German aerial bombing of No.20. Nos.22-28 still standing. Photograph by Barbara Bristowe.
Photograph
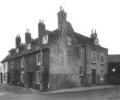
Museum Ref No: D_Barbers_Piles_0007Barbers Piles at corner with West Quay Road. Nos. 22-28. Photograph by Barbara Bristowe.
Photograph
Museum Ref No: D_Bay_Hog_Lane_0001Bay Hog Lane, Nos.3-11. Dinghy in foreground. Photograph by Barbara Bristowe.
Photograph
Museum Ref No: D_Bay_Hog_Lane_0002Bay Hog Lane, side of No.3. Photograph by Barbara Bristowe
Photograph
Museum Ref No: D_Bay_Hog_Lane_0003Bay Hog Lane, Nos.9-12. Photograph by Barbara Bristowe
Photograph